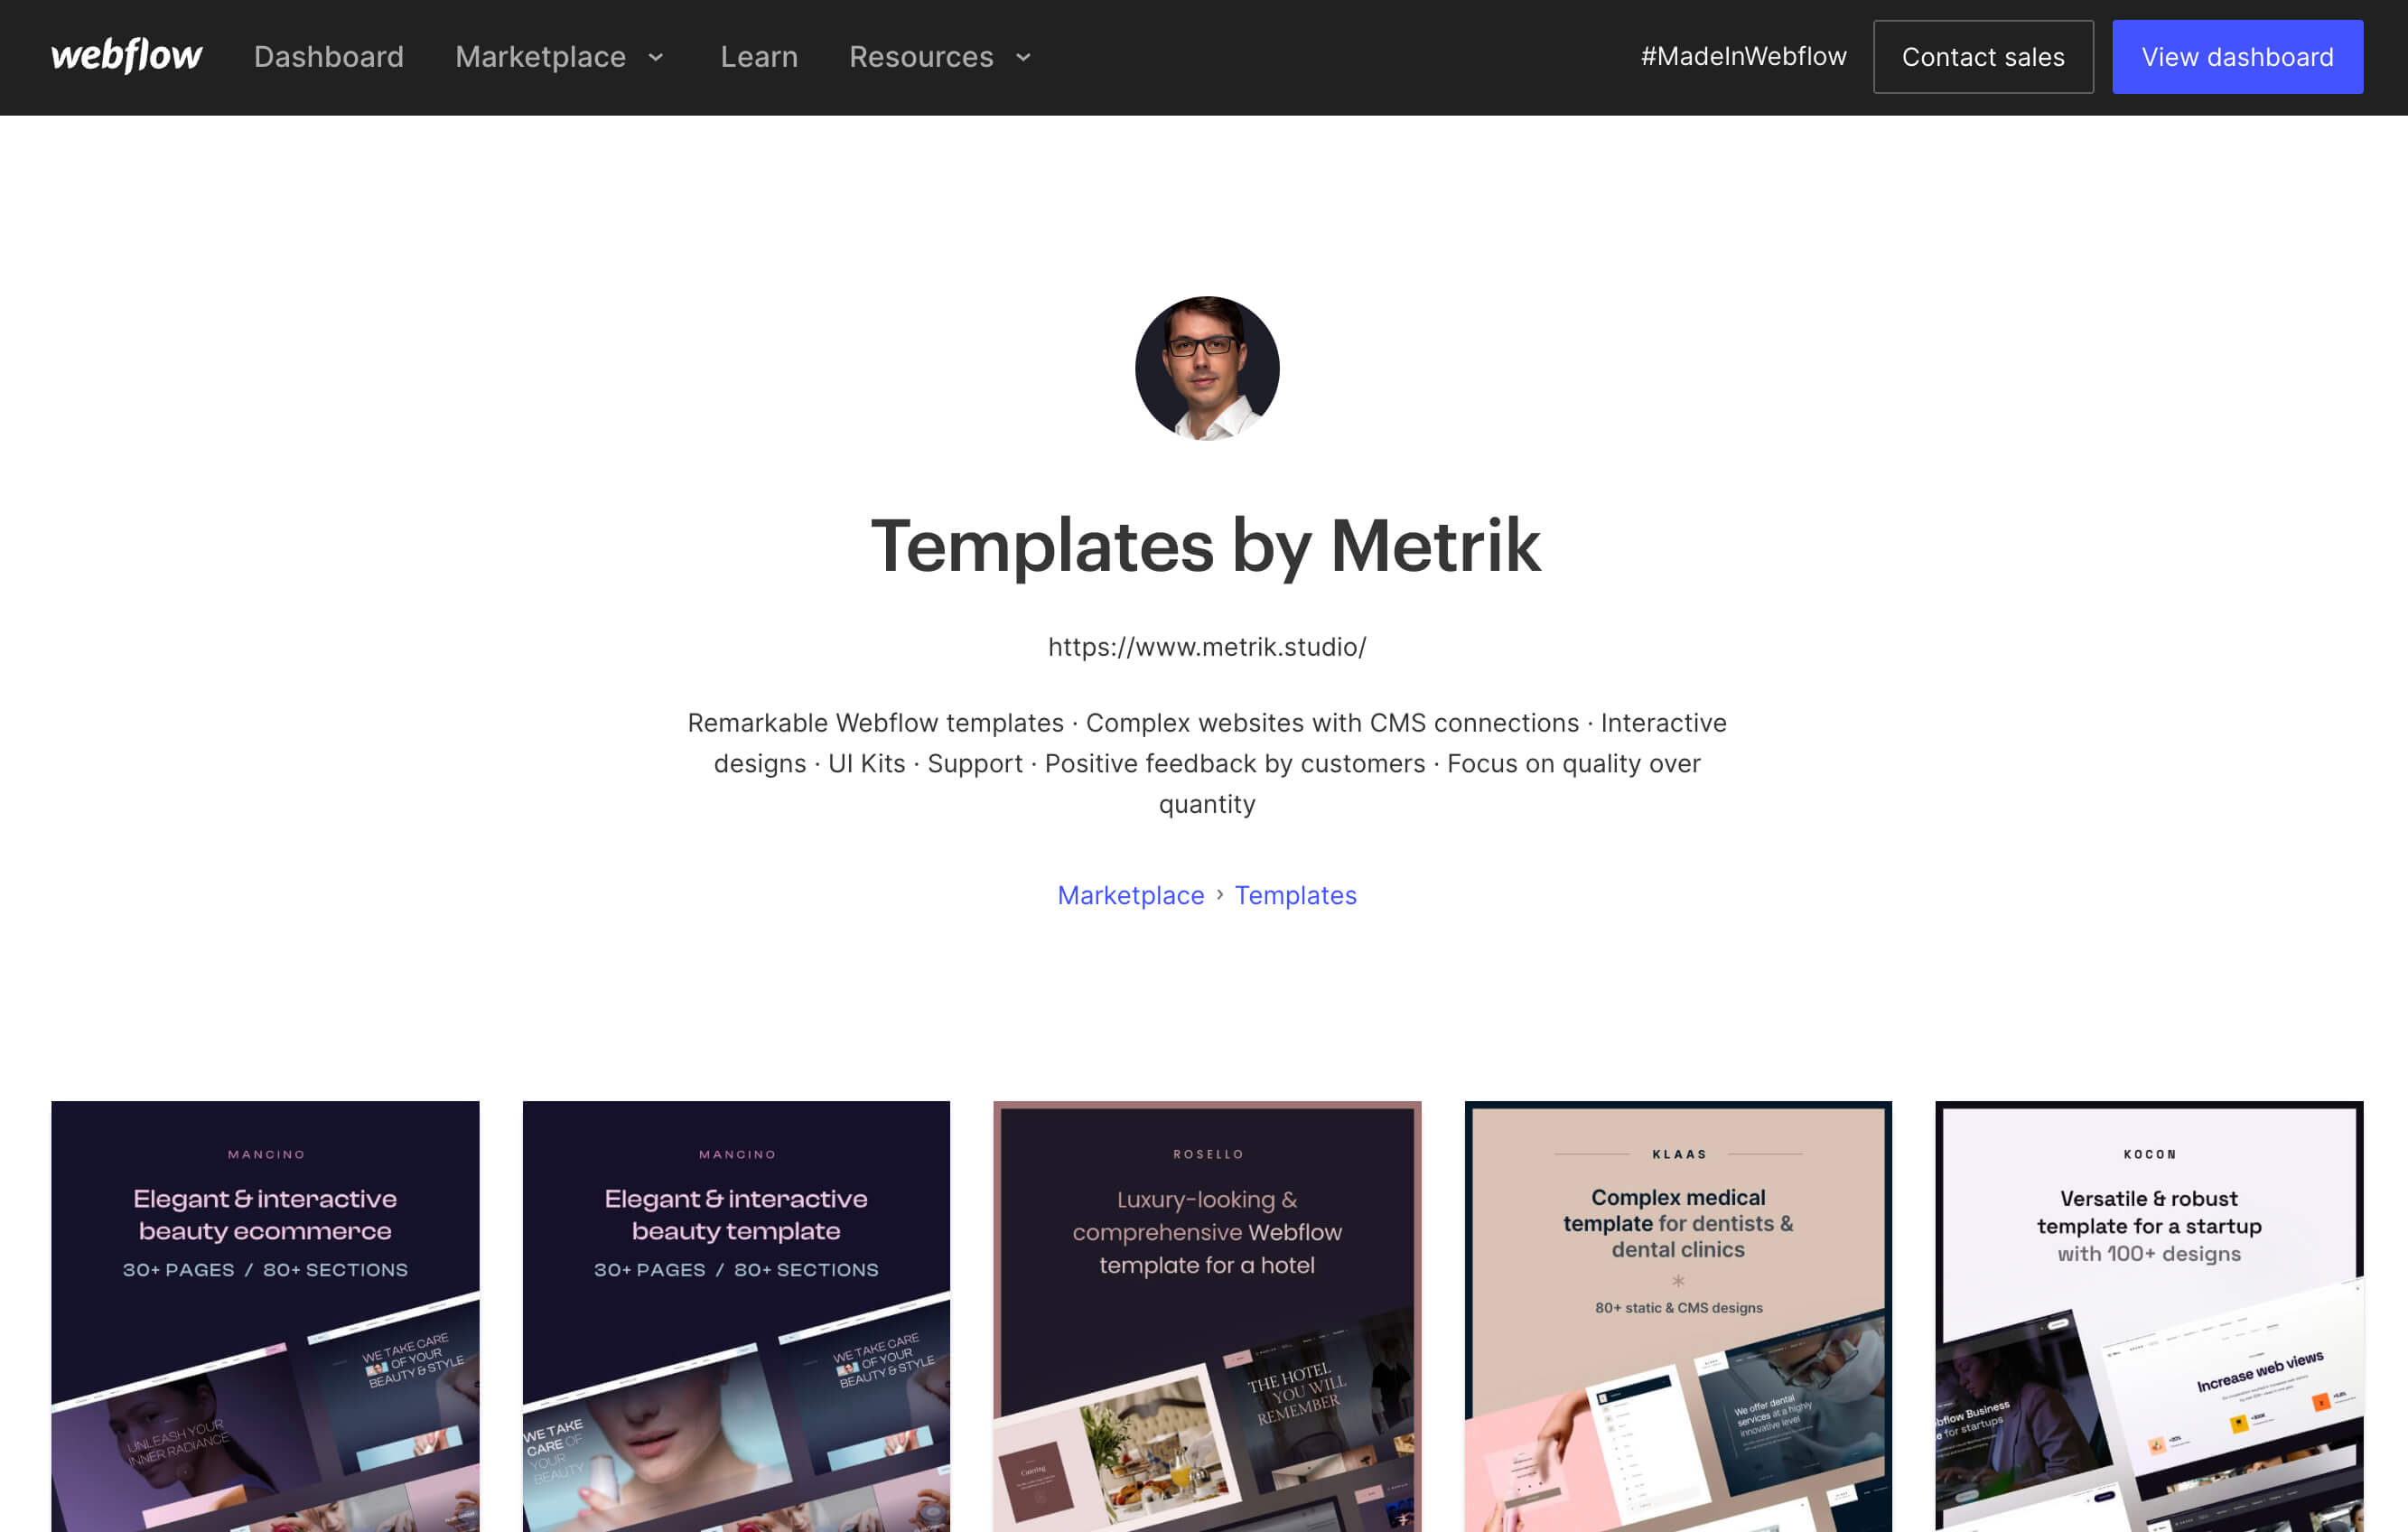
Latest released:


Some examples of screens from Metrik's Webflow templates
If you are new to Webflow, customizing a website template can be challenging. However, with the proper guidance, it can be a breeze 🤙 I wrote this article that will guide you through the steps to customize a Webflow template to suit your needs. As a Webflow template designer, I have covered you, from basics to some skilled tips and I'll try to keep this tutorial updated.
In this ultime guide I will cover the following topics:
1. Webflow template basics
2. How to use a Webflow website template
As businesses shift towards online channels, having a professional-looking website has become more crucial. Building new sites can be daunting, but Webflow offers a solution that simplifies the process. Templates are a great starting point, offering you a wide range of ideas, inspiration, and details that you can use to create your site.
Webflow templates are pre-designed layouts easily customized to fit your needs.
Templates are pre-designed website layouts with basic building blocks that can be easily customized to fit your brand. Professional Webflow designers and developers create them, so you don't have to start from scratch. Webflow templates include all the essential pages your new site need, such as the homepage, services, solutions, about, blog, portfolio, contact, and more. They also have pre-built UI and components such as navigation menus, hero sections, content sections, listings, forms, testimonials, etc.

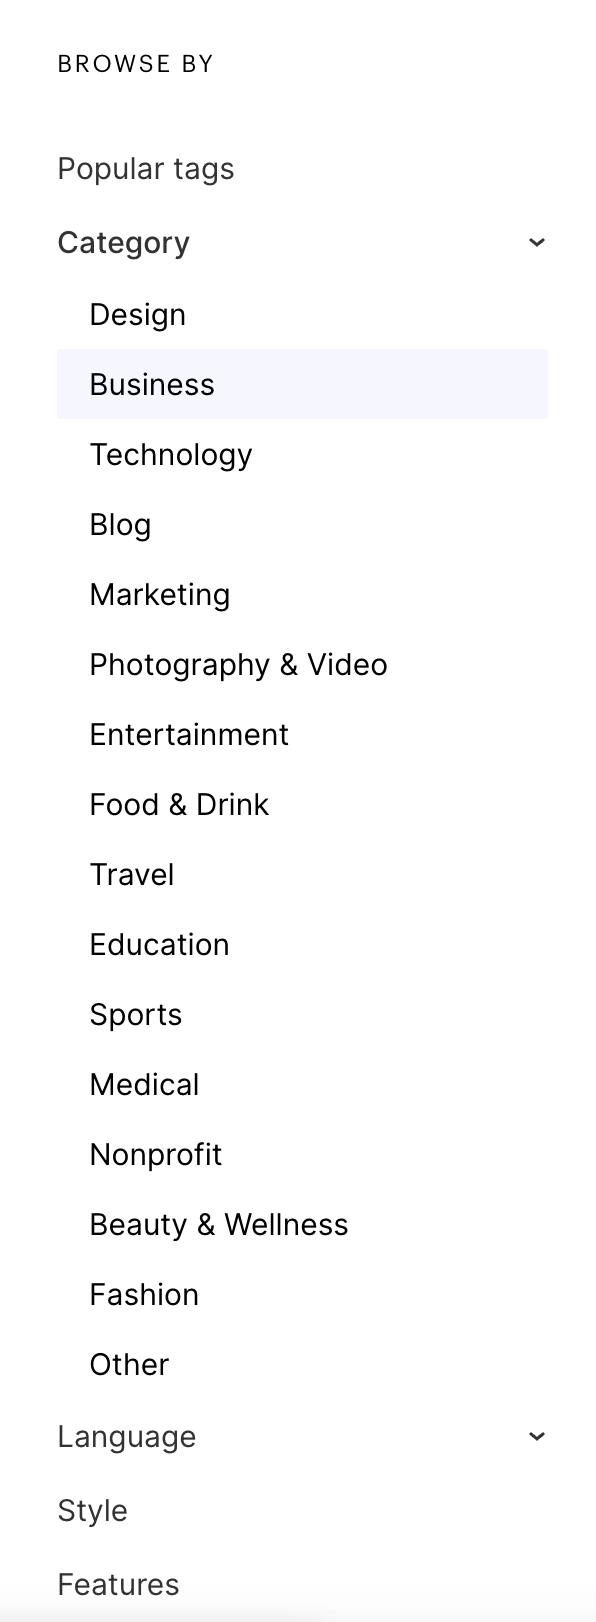
The Webflow marketplace is the official place to find templates. You can search for the available templates using the search bar or browsing the categories. The categories include Portfolio, Business, Design, Travel, Medical, Beauty, and more similar sites. Each category (themes) contains templates that are specifically designed for that industry.

When looking for a good template, it is essential to consider the following factors:
While most Webflow templates on the Marketplace are high-quality, some are better than others. When choosing a template, it's essential to consider the creativity and complexity of the design. Low-quality templates may look cheap and generic, while high-quality templates are more unique and professional.
A template's quality also depends on the author who created it. Some authors focus on quality, creating professional templates that stand out from the crowd. Other authors may focus on quantity, creating many templates with little thought to design. When choosing a template, look for authors who have a good track record of creating high-quality templates.
While exploring templates, it's important to keep in mind that some categories or themes may have a large number of options, while others may have only a few. It's also worth noting that similar sites may be categorized differently, so it's important to browse through a range of templates to get a sense of the available options. Each template is unique, so it's essential to avoid dismissing templates based solely on their category or title. By browsing and experimenting with different templates, you can find the one that best fits your needs and helps you achieve your site goals.
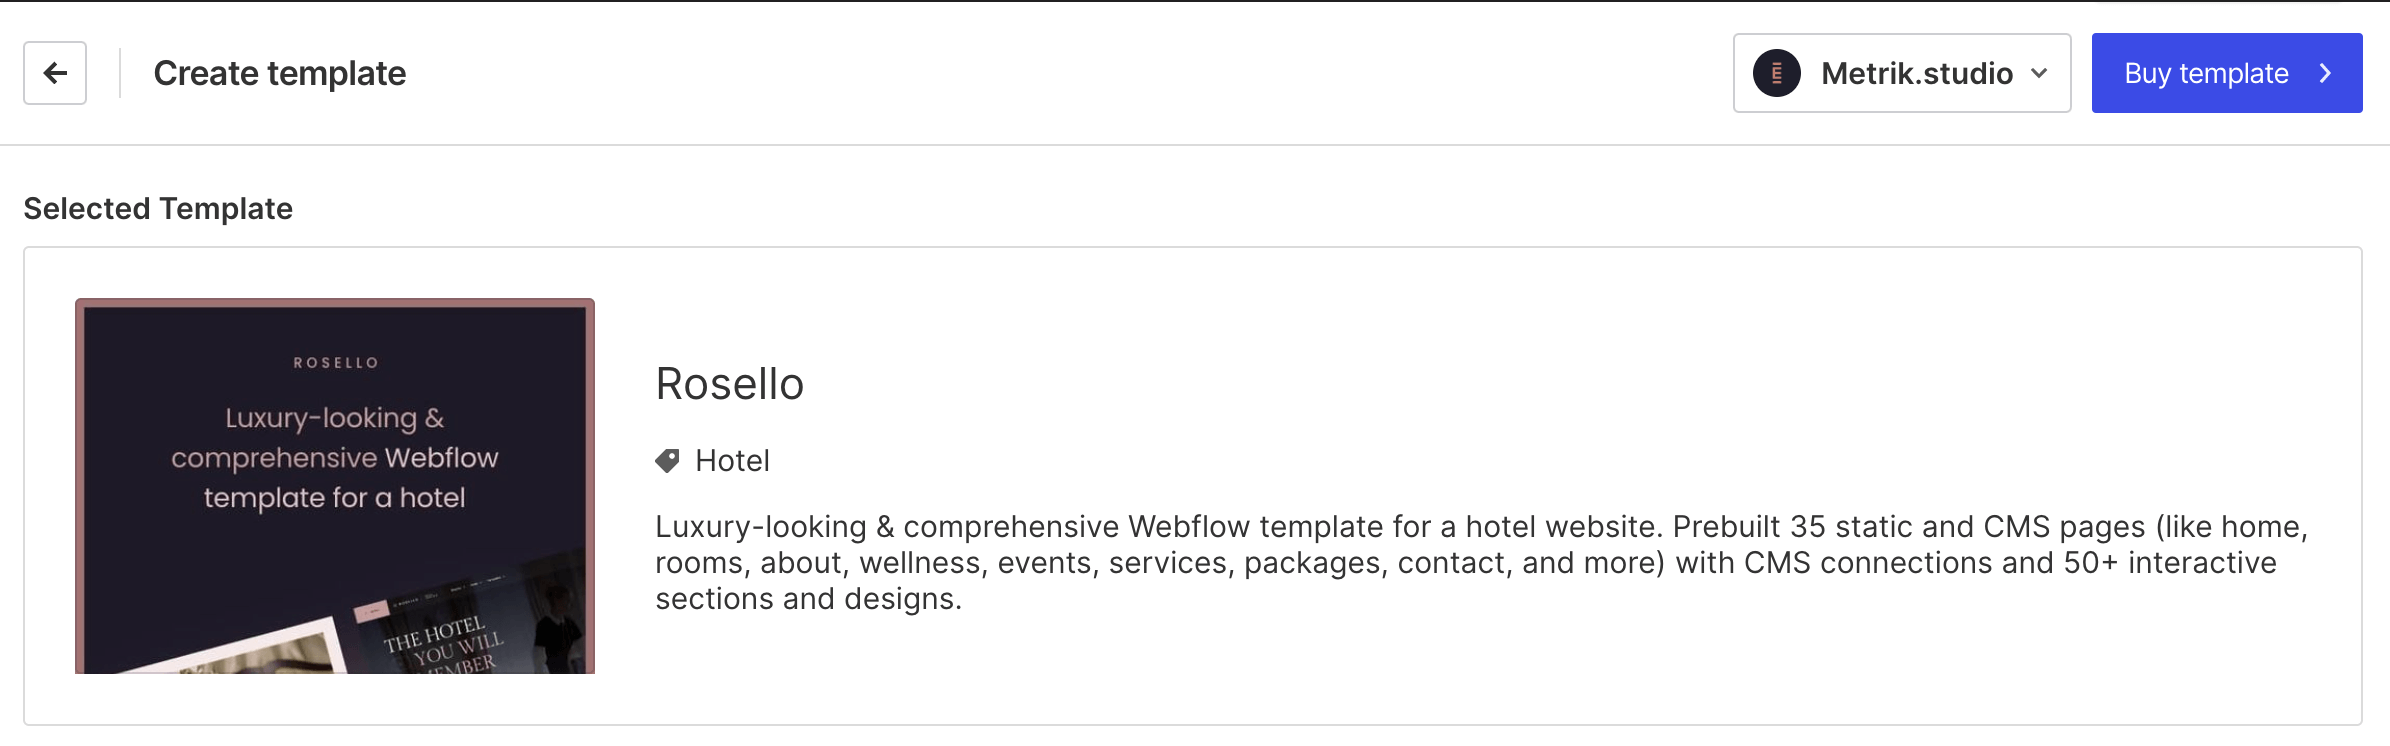
Once you have found the perfect template, it's time to purchase it. Webflow templates range in price from $19 to $149, depending on the complexity and features. Once you've purchased, you can customize the template to fit your brand.
How to make the most of a newly purchased template to create a beautiful, functional, and optimized professional website with a powerful website builder? Let's jump into the next main chapter 🔥
One of the great things about Webflow is that it offers a variety of templates that you can use to create sites. In this chapter, I'll guide you through how to begin with Webflow templates to initiate your new project. So, let's dive in and get inspired by these ideas.
Before you start customizing the Webflow template, it is crucial to duplicate it for a backup. Cloning the template means having a backup version if you make any mistakes while customizing. To clone the template, click the "Duplicate" icon in the site settings.

Fonts are an essential part of any site's design. Webflow offers two ways to add custom fonts - adding a Google font or uploading a custom font.
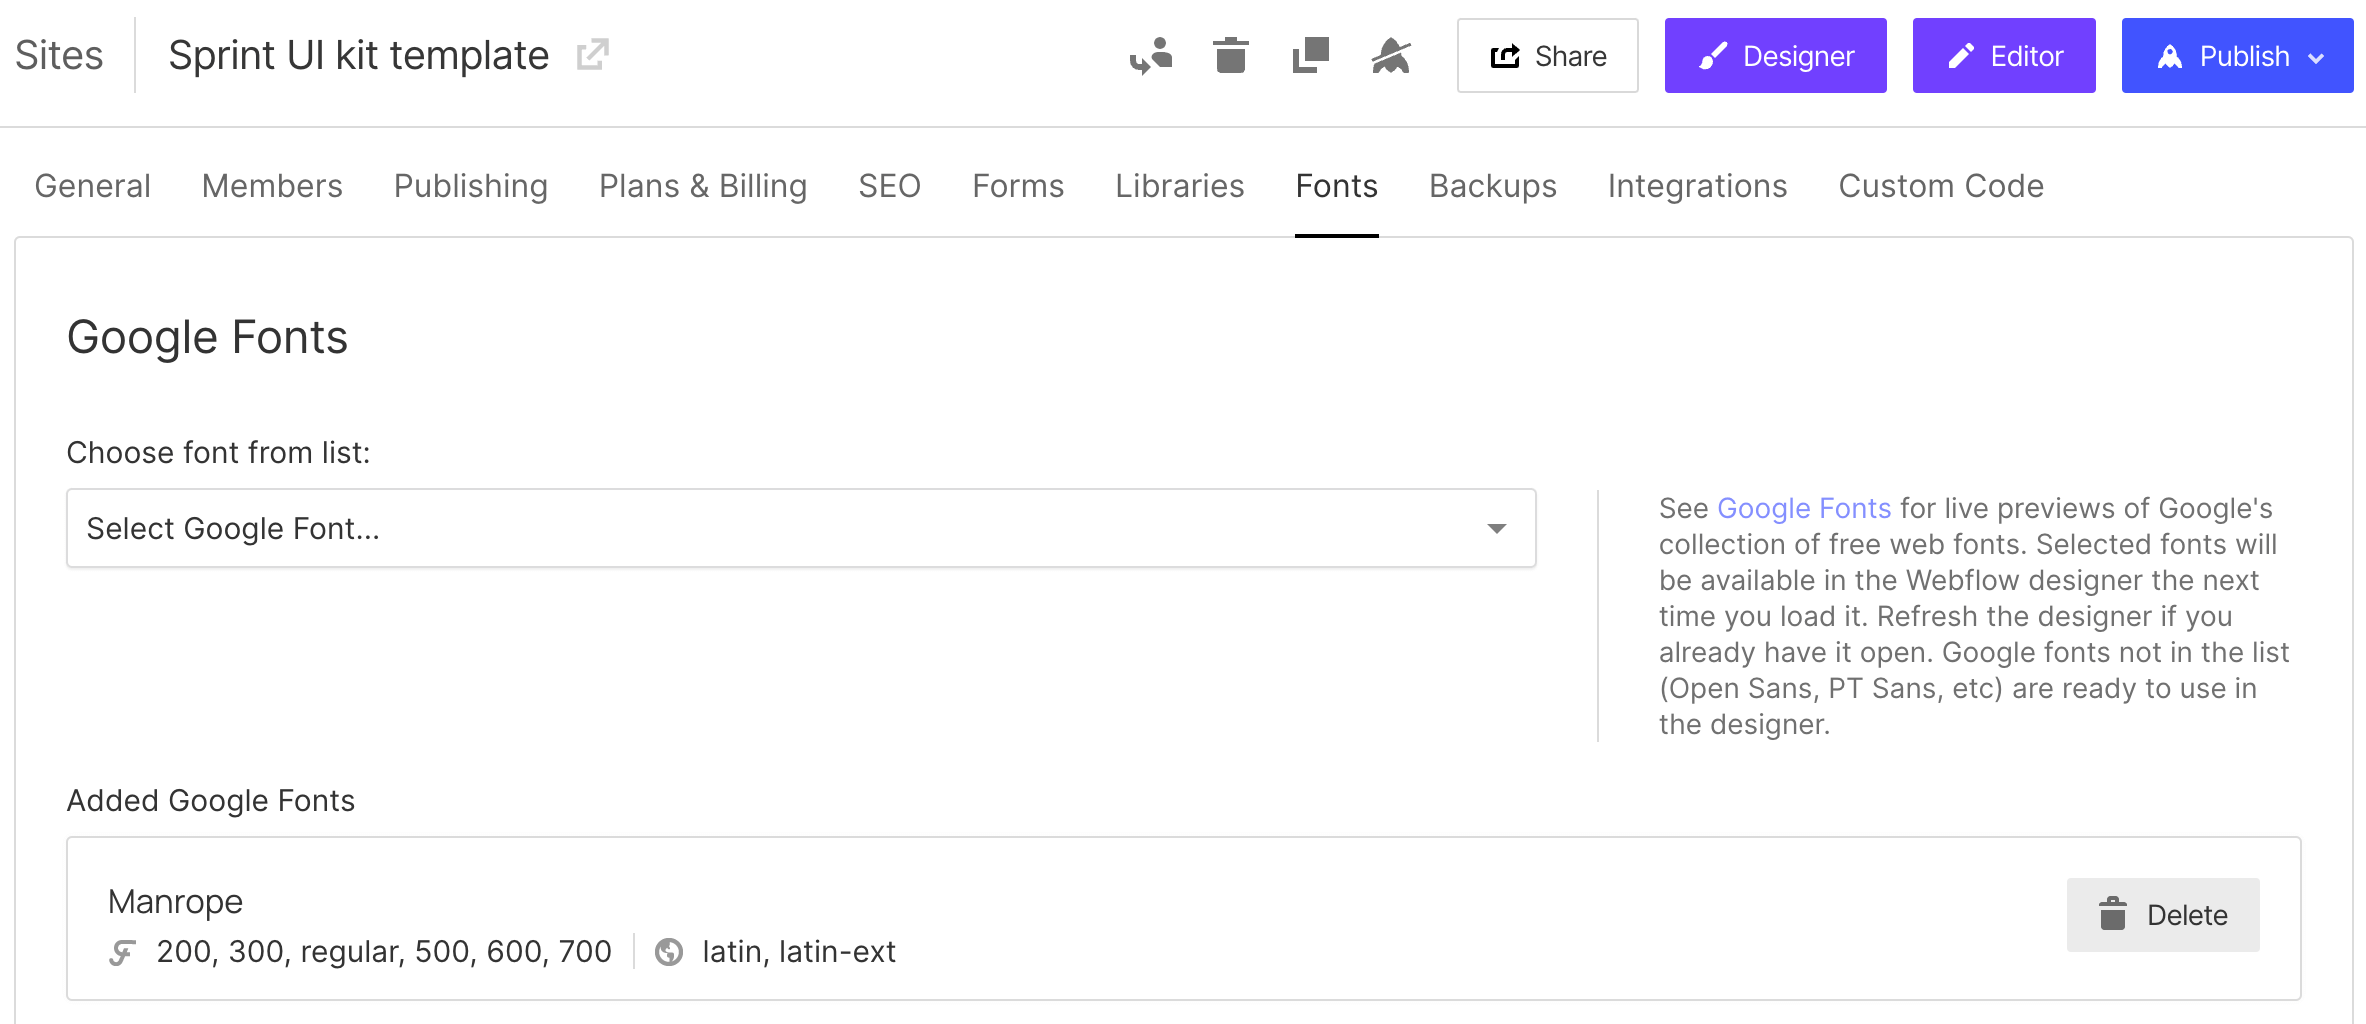
Webflow offers integration with Google Fonts, a free library of fonts that can be used on your site. To add a Google Font to your site in Webflow, you'll need to access the "Fonts" in the site settings. You can select a font from the Google Fonts library and add it to your new project. Webflow will automatically generate the necessary code to use the font on your site.
Metrik templates utilize Google Fonts for their typography.
Pros:
Cons:
If you prefer to use Google Fonts in your Webflow template, I recommend to download the font files directly from the Google Fonts site and upload them to Webflow as custom fonts.
This approach is also recommended by Webflow. Google Fonts allows font files to be downloaded without requiring a license, making it a simple and straightforward process. By uploading Google Fonts as custom fonts in Webflow, you can easily customize the font settings to fit your site's design and optimize them for web use.
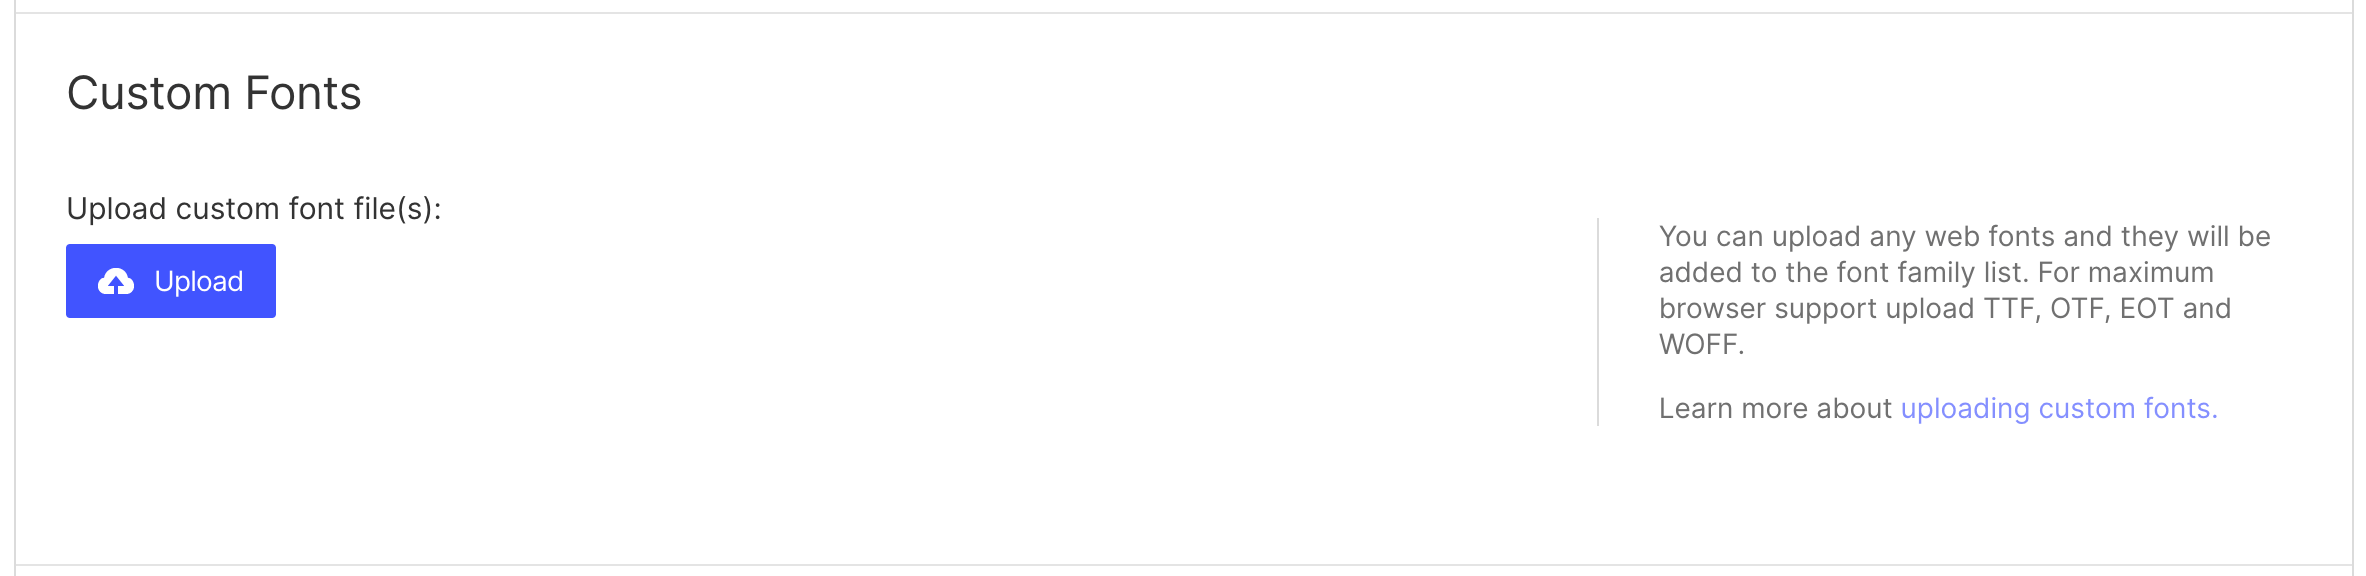
Webflow also allows you to use custom fonts on your site. To add a custom font to your project in Webflow, you must upload the font files to your project. Webflow will automatically generate the necessary code to use the font on your site.
Pros:
Cons:
Here are some tips for using fonts in Webflow effectively:
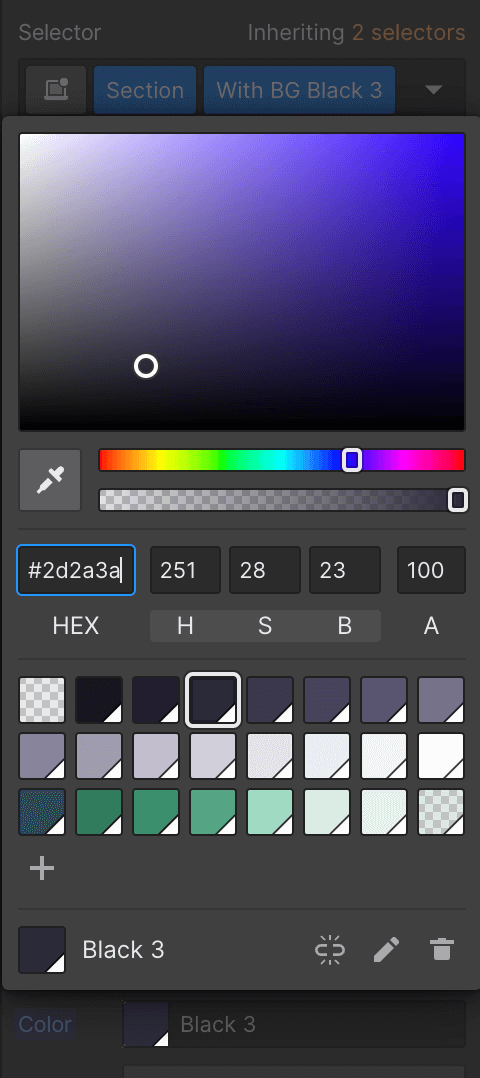
Webflow has a global swatches feature that allows you to manage colors easily. You can create a set of colors that you can use throughout the site without remembering their values. To create a swatch, click the "Swatches" button in the color picker, name the swatch, and select a color.
Even if you change the primary colors of your Webflow template, specific elements may have their own color sets. In this case, you'll need to edit these elements individually.
If you need color inspiration for your projects, I recommend visiting those pages and apps Coolors, Colorhunt, and Colorsupplyyy.
Please note that if you want to change color in the swatches feature of Webflow, you'll need to click on the "pen" button next to the color swatch, choose the desired color, and then save it for the change to take effect.
If there are pages in the template you do not plan to use, it is best to save them as drafts. This will prevent these pages from appearing in search engines or the website's sitemap. To save a page as a draft, click the "Settings" button in the Webflow Designer, select "Draft," and save the changes.

One of the most important aspects of a site is its speed. To speed up the Webflow template, delete the sections that you are sure you will not use in the template. Then clear the styles in the Style Manager (shortcut: G key) and animations in the Interactions tab (shortcut: H key). By doing so, you will lighten the code and reduce the load.
Also, a fast site provides a positive user experience and improves search engine rankings. Here are some tips for speeding up a Webflow template:
The weight of a page can have a significant impact on its speed. Compress images and videos to reduce their size and use appropriate file formats. Avoid using large files, such as uncompressed images, audio, or video, as this can slow down the site's loading time.
When it comes to images on your site, optimizing them for the web is essential. Optimizing images and videos can reduce the file size and improve page load times. Here are the recommended steps for optimizing images on your Webflow project:
The same principles apply to videos:
To optimize the performance of Webflow websites, I recommended that you compress each image before uploading it.
CSS and JavaScript files can slow the site's loading time. Webflow provides a simple and effective way to minimize HTML, CSS, and JavaScript files. By using Webflow's native settings, you can easily compress these files to reduce their size, which can help to improve your site's loading speed and overall performance. This feature can be accessed through Webflow's settings menu, making it a straightforward process that can have a significant impact on your site's performance.

Webflow provides several native features that can help speed up websites:
It is essential to monitor the site's speed regularly to ensure it is fast enough for users. Use tools like Google's PageSpeed Insights or GTmetrix to monitor the site's speed and identify areas for improvement.
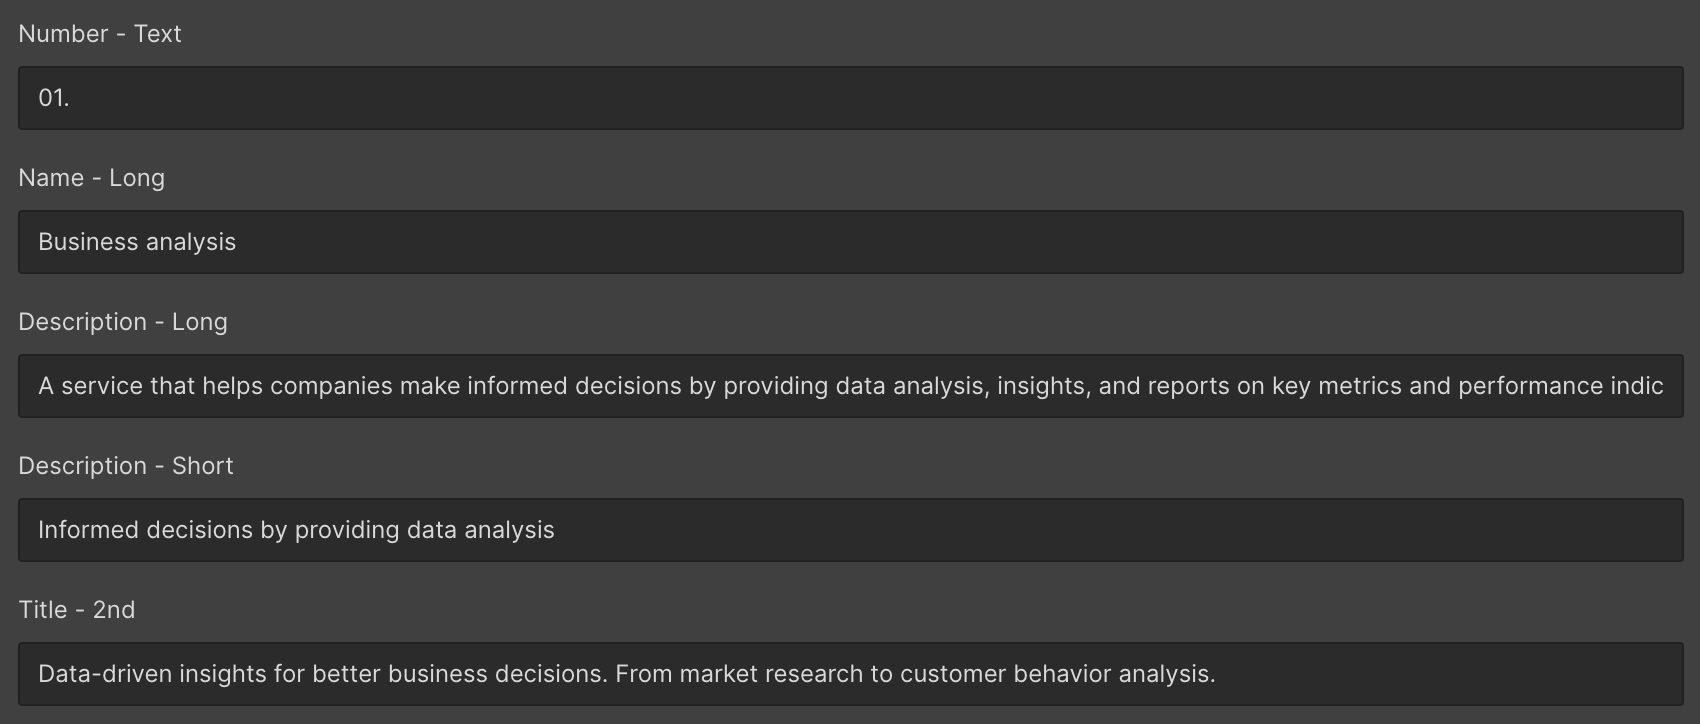
Once you have made the necessary changes to the site's design and structure, it's time to customize the content and images. Use the Webflow Designer to edit the content and replace the images with your own. Webflow offers a user-friendly interface that makes it easy for beginners to make these changes. Remember to keep the content and images consistent with your brand's message and design.
Webflow offers two types of content for sites - static content and CMS content. Here's what you need to know about each:
Static content is hard-coded into the site and does not change frequently. This can include things like text, images, and videos. Static content is typically used for the homepage, services, solutions, about page, and contact page. Static pages also can include CMS connections and Collection lists.

CMS content is managed through a Webflow content management system (CMS). It can be easily edited or updated via the Webflow Designer and Webflow Editor. This can include blog posts, service detail pages, solution detail pages, testimonials, product listings, etc. You or your client can easily add, edit, or remove content with CMS.
Responsive design is essential to modern web design, allowing sites to adapt to different screen sizes and devices. Webflow offers a range of features that make it easy to create responsive websites, including breakpoints. Here's what you need to know about using breakpoints in Webflow:
What are breakpoints?
Breakpoints are specific points in the screen size spectrum at which the layout of a site changes to accommodate different devices. In Webflow, you can set breakpoints to define how your site will look at different screen sizes. You can create custom breakpoints to ensure your site looks great on every device.

How to use Webflow breakpoints?
To use breakpoints in Webflow, you'll need to access the "Breakpoints" panel in the Designer. This panel allows you to define how your website will look at different screen sizes. Add, delete, or modify breakpoints to ensure your site looks great on every device. You can also use the "Hide" and "Show" options to hide or show specific elements at different screen sizes.
Metrik templates breakpoint rules 🔥
Don't miss if you are using Metrik templates - How to styling on different (responsive) breakpoints in Metrik website templates.
Search engine optimization (SEO) is crucial for any site to rank well in search engine results pages (SERPs). To optimize a Webflow template for SEO:
Webflow offers a range of SEO tools that make it easy to optimize your site. Visit the Webflow University lessons for more information on optimizing a Webflow template for SEO.
Optimizing a Webflow template for search engines is crucial for increasing visibility and attracting traffic to the site. Here are some essential steps to take when optimizing a Webflow template for SEO:
In conclusion, optimizing a Webflow template for SEO is a critical step in improving the website's visibility in search engine results from pages. Following the above steps, site owners can improve their rankings and attract more traffic. Webflow offers a range of SEO tools that make it easy to optimize a site, making it an excellent option for those new to SEO.
High-quality Webflow templates often come with a style guide page that outlines the design specifications of various elements, such as color schemes, typography choices, rich text formatting, icons, and other visual elements. This style guide is a reference for maintaining visual consistency throughout the website or application and ensuring that all design elements align with the desired brand image.
In addition, a Webflow template must include a blank page with essential sections such as the hero section, footer, and content area. This blank page should also have animation triggers so that when users duplicate the page, the animations are replicated as well. This feature not only saves time but also ensures consistency throughout the site. Using a blank page, designers can quickly create a new page by copying the necessary sections from the UI kit with just a few clicks. This is a feature that I often use myself when designing templates.
To access the page settings in Webflow, you can do so via the Dashboard. Before publishing a page, it is essential to make several changes to each template, such as setting the favicon, webclip, and email notifications for form submissions. Additionally, I recommended minimizing the HTML, CSS, and JavaScript in the Publishing tab to optimize the page's performance.
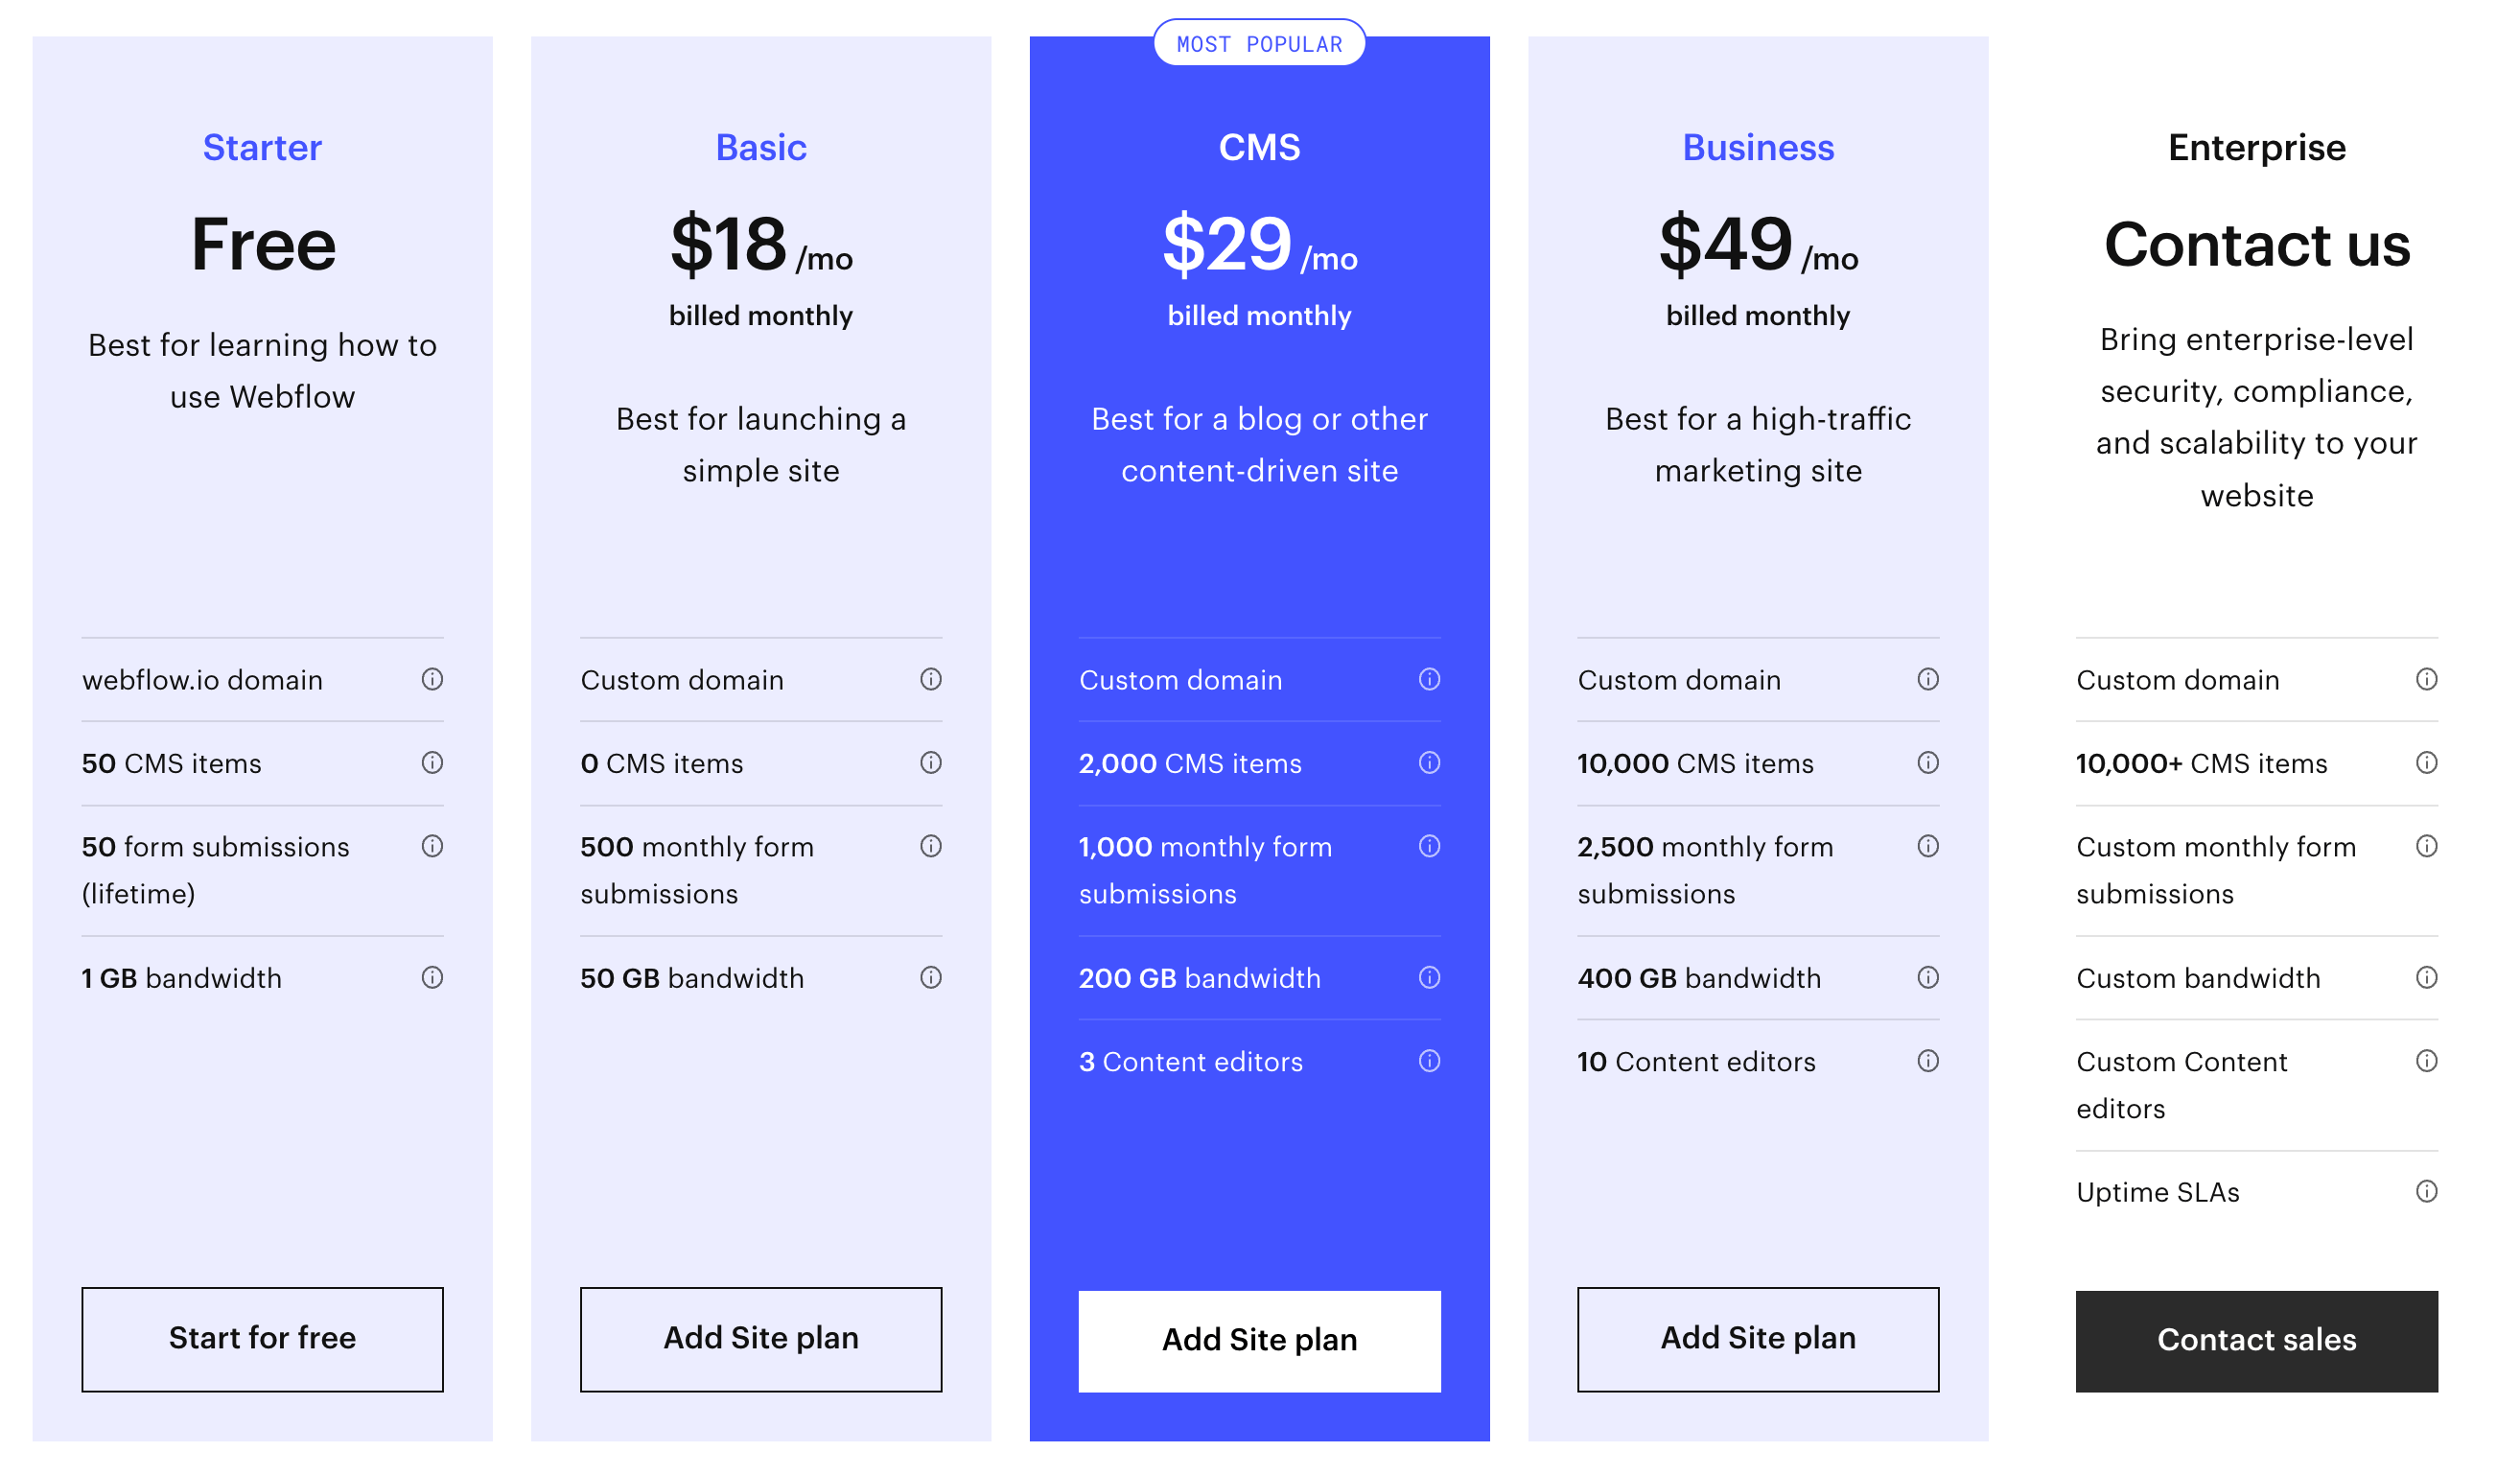
Webflow offers a range of free and paid plans to suit the needs of different types of sites. When choosing a plan, it is essential to consider the features you need and the size of your site. The most popular plan is the CMS site, which costs $29 per month and will probably be the choosen plan for most template customers.
Once you have customized the Webflow template, it's time to launch it. To publish the site, go to the Webflow Designer and click the "Publish" button. Webflow offers various hosting options, from hosting on their platform to exporting the website's code and hosting it elsewhere. Test the site thoroughly before publishing it to ensure it is fully functional.

Webflow is a great website builder to save time and effort when building a site. Following the steps outlined in this guide, you can be inspired to use templates effectively, optimize the project for SEO, and create websites that look great and perform well on all devices.
Essential resources, inspirations and ideas for beginners to know if you are using Webflow templates.
For beginners who wish to use Webflow templates, as a template creator, I highly recommend (based on the most frequent questions from customers) exploring the courses, lessons, and articles that are available on Webflow University, completely free:
Course:
Webflow 101 crash course - An overview of the basics and get started on building your first website.
Getting started:
Intro to the Designer - Learn your way around the Webflow Designer.
Layout and design:
Display settings - Adjust display properties to determine the fundamental layout behavior of an element.
Components - Use components to manage recurring layouts and content more efficiently across your site.
Interactions:
Intro to Interactions - Use interactions to make your site more dynamic and engaging.
CMS:
Intro to dynamic content - An explanation of static and dynamic content.
CMS Collections - A CMS Collection is a grouping of content types with a customizable structure in the Webflow CMS, like blog posts, authors, or help articles.
Collection list - Use a Collection list to add a Collection’s dynamic content to your site.
Collection pages - Structure and style Collection pages that work like templates and automatically update your design.
.webp)
